We purchased a Keyence VL-700 optical 3D scanner, which allows us to scan parts up to a size of about 50x40x20cm. This can be used:
- reverse engineering - create a 3D model from the supplied part - output is in STL form
- the STL model can be used directly for 3D printing of a "copy" of the part
- it is possible to produce for example spare parts that are no longer available on the market
3D scans can also be used for measuring parts - mainly for sampling (PPAP):
- various dimensions can be measured - including more complex 3D measurements
- is possible to measure perpendicularity, flatness, coaxiality, circularity,...
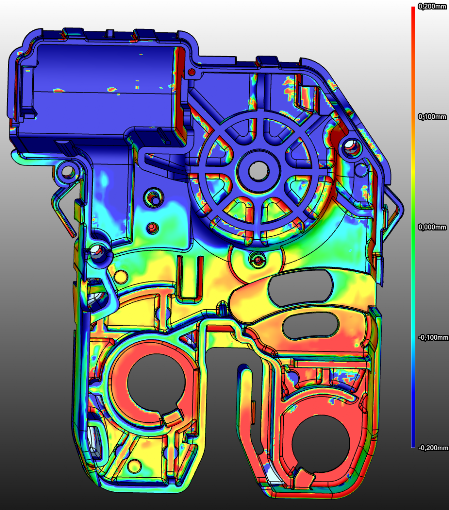
- is possible to create a colour map of part deviations from the 3D model
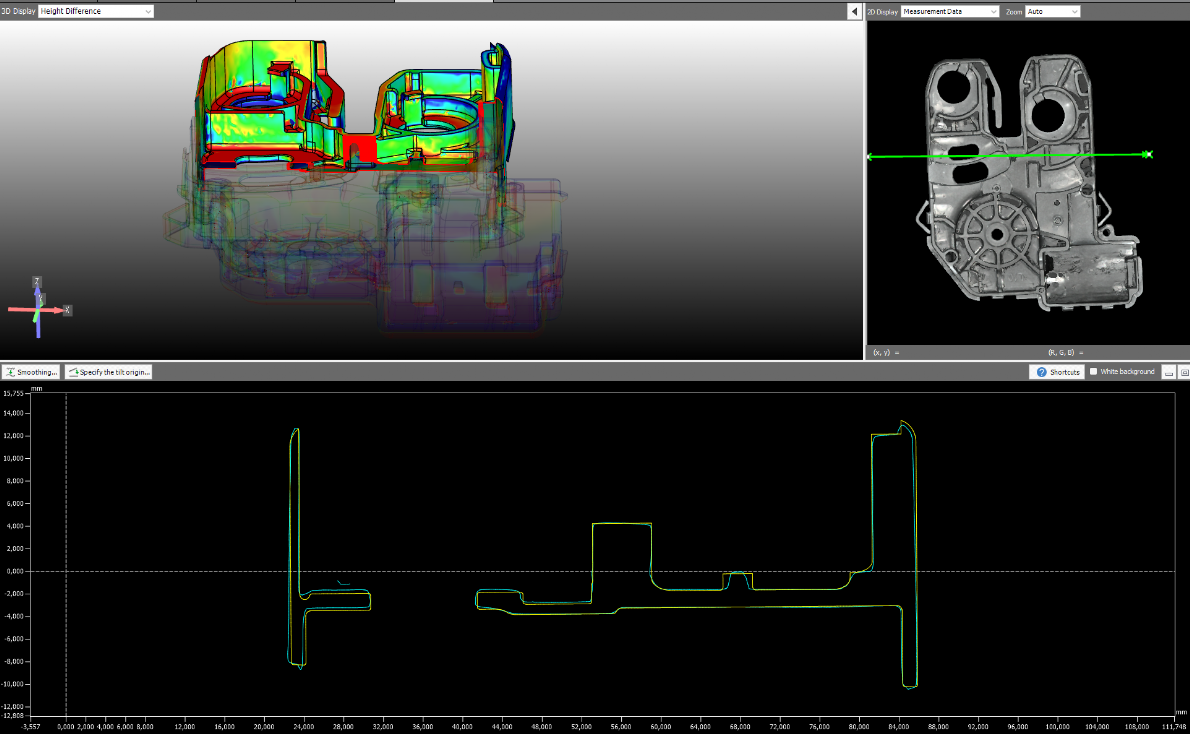
- is possible to make cross-section of 3D scan and measure dimensions
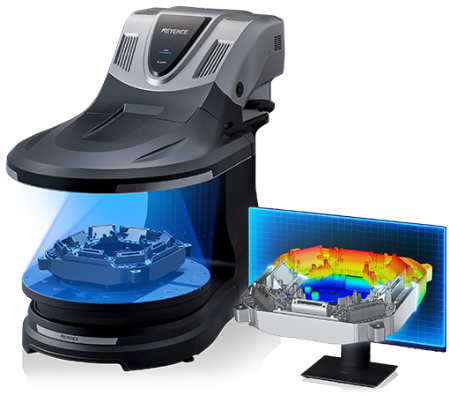
comparison of 3D model, 3D scan and projected deviations of surface
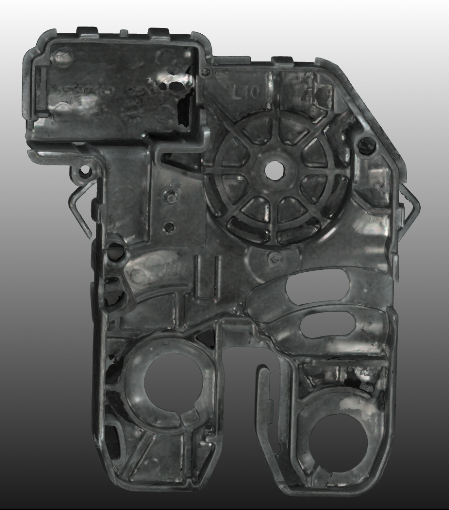
3D scan
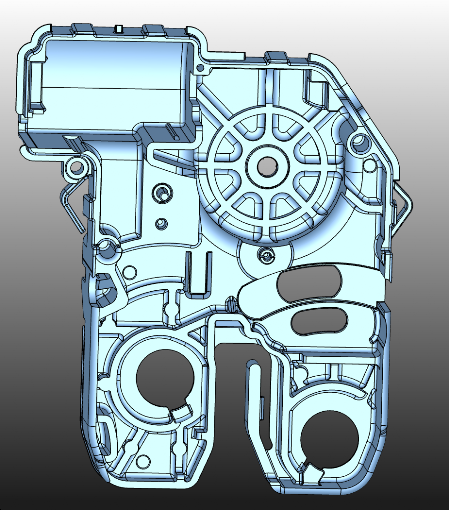
3D model - STEP
surface deviations (reality vs. 3D model)
dimensional measurements on 3D scan
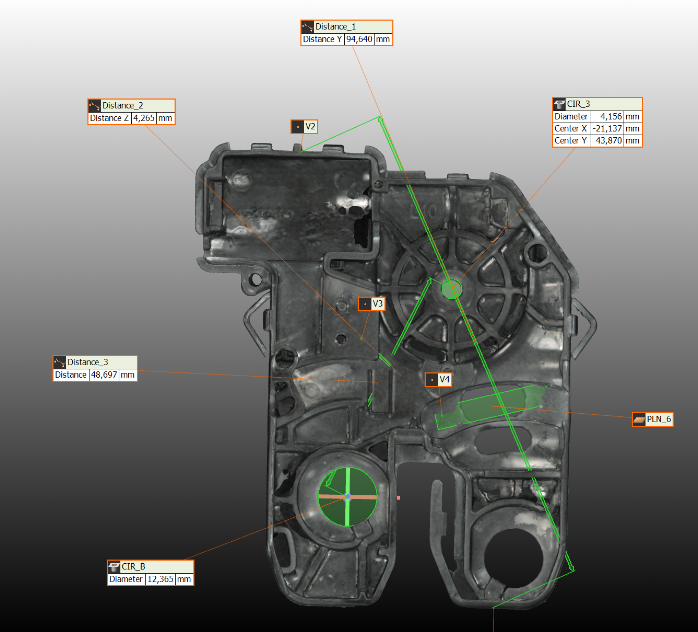
- various types of measurements can be made on the 3D scan
- elements can be created - surface, line, point, circle, cylinder,...
- elements can be created in different ways (area - whole, selected area, from several points)
- coordinate system can be aligned according to the need/drawing
- not only distances, radii,... but also perpendicularity, flatness, alignment, parallelism,... cen be measured
- cross-sections can be made and measured on the 3D scan
view of cross-section of the 3D scan
practical example
e.g. if you are looking for a replacement part that is no longer available or you need to modify/improve an existing part, the existing part can be scanned and then printed
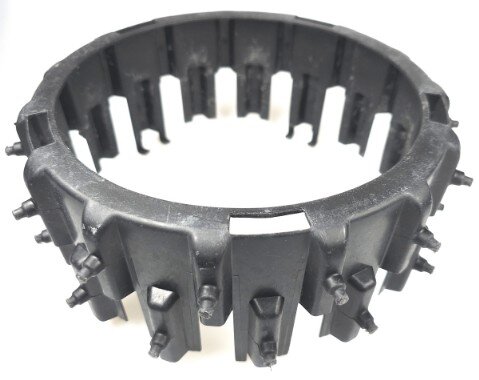
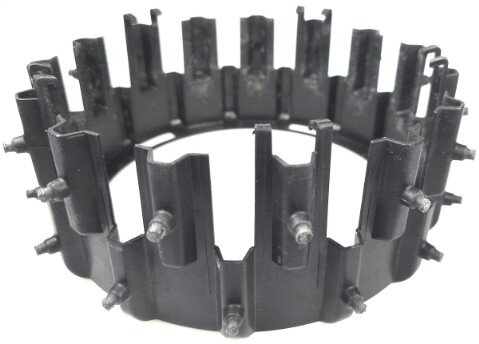
real part - even with wear
Part scanned on optical scanner - in STL format - can be easily converted to STP or modified in various ways (but it is composed of many surfaces). It can be printed on a 3D printer.
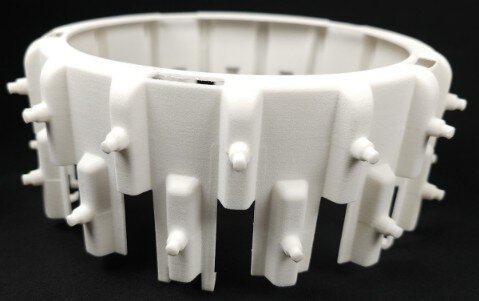
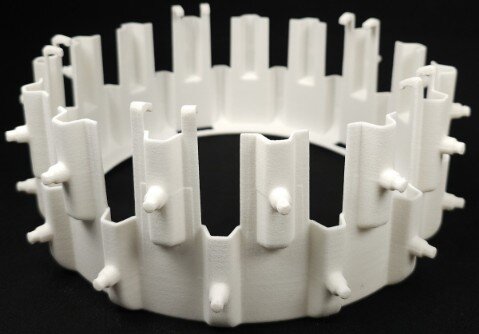
printed real part
